Pages

1.27.2014

The Productive Office

I've been promising myself for the past couple of months that I was going to blog more, and then I hopped on the blog and promptly found myself with writer's block.  It seems that blogging about house changes is a lot harder after a long break, c'est la vie.

We have had some big projects and some small projects taking place. The big project being that I finally completed my office desk, installed it and made myself comfortable in the office right away.  It's been under near constant usage since October with both school and professional projects at hand.  Consequently, taking photos that didn't insinuate that I am a complete slob has been nearly impossible.

I've also been kind of waiting on a new bookshelf for the past couple of months, I found one at Ikea that was well within my price range (under $200), modern, white and had drawers.  So excited!  Until I went to put it in my online basket and discovered that it wasn't actually available for purchase online.  Damn.

Thankfully, I have a wonderful friend Brittany who happened to be going to Alberta for vacation and promised she would brave the inner depths of Ikea for me and bring back a shelf sometime this week.  So hopefully soon I will have the Fjälkinge shelf to house my books, printers, papers and all the other wonderful clutter that comes with working from home.


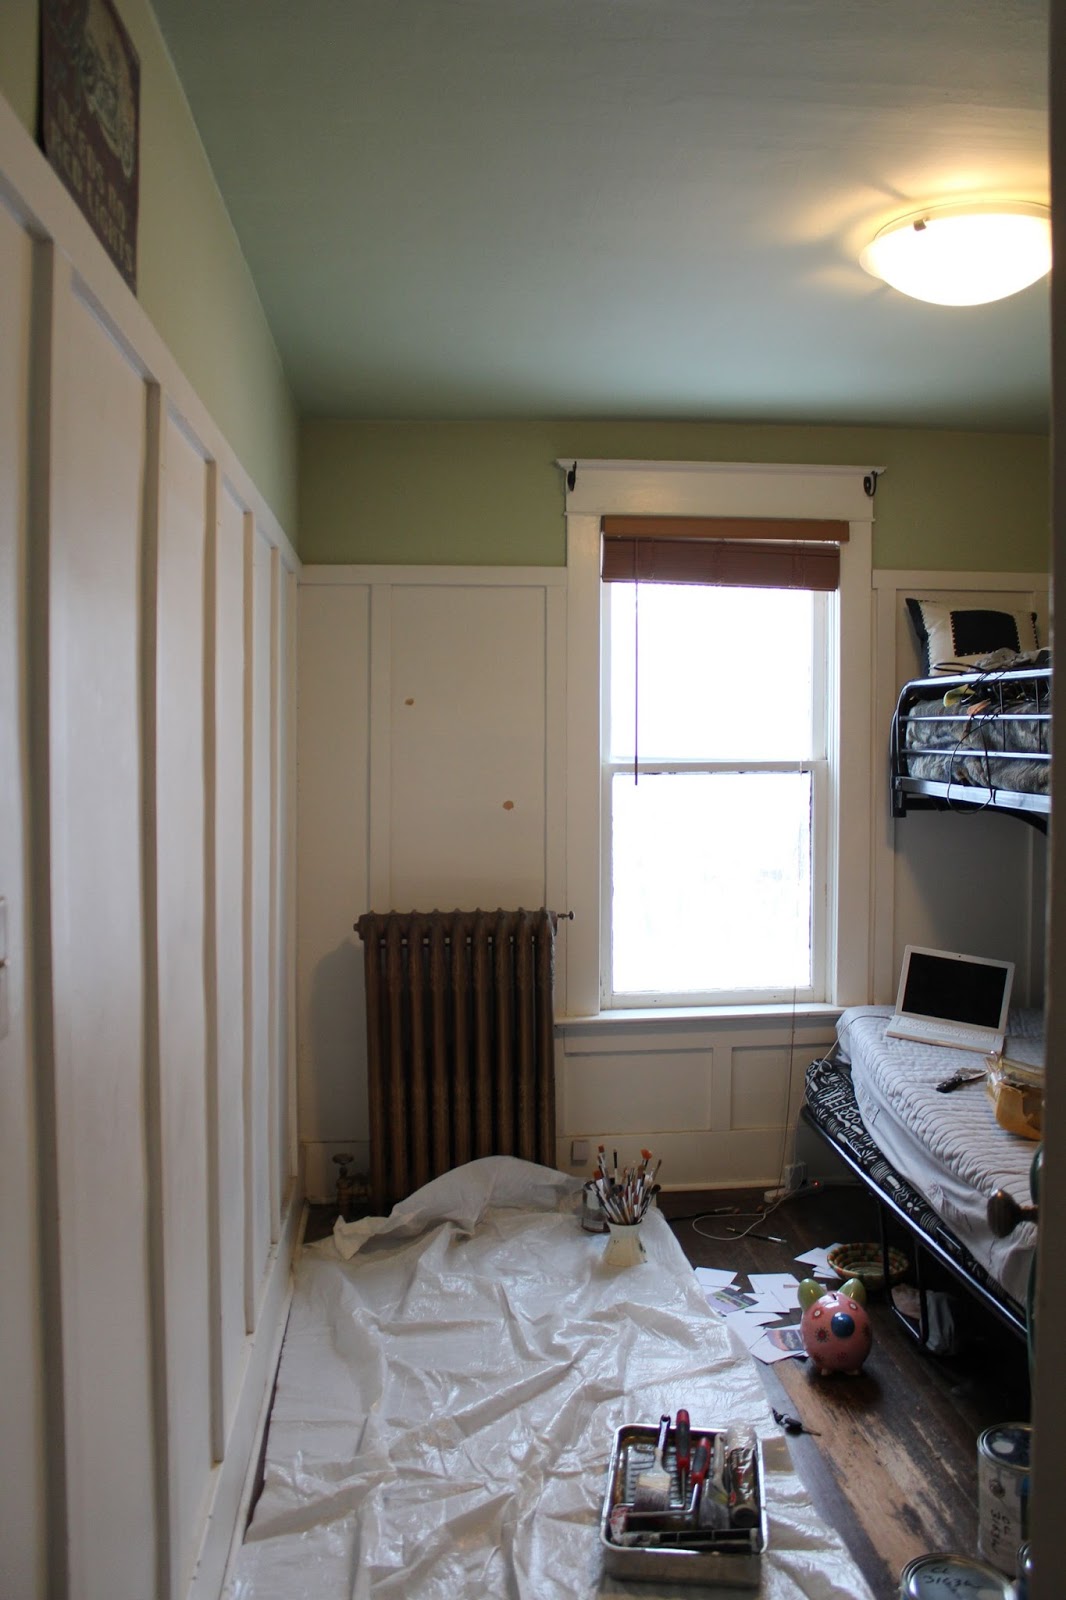
While I wait for that I might as well show you how far the office has come since it's first inception. In case you don't remember this is what it looked like at the beginning.


And now, we can all revel in the glory of what it has become.


The desk was far more time consuming than I had originally anticipated, each board was reclaimed barn wood which meant that none of the board edges were milled straight.  Each board had to be hand planed to fit the board next to it, which meant a lot of measuring, fixing, planing and time.  Once all the planing was done the actual assembly was quite easy.  I ended up buying a biscuit joiner, and utilized biscuits along with wood glue to join each board to the one next to it.  This allowed me to have a really minimalist desk top that was also very sturdy.  

I personally like working in an L-shape configuration since it allows me to have a sketching and modelling area without all the materials invading on my computer space.  I decided to build each piece of the L as a separate desktop, primarily because it meant installation would be much simpler, especially in an older house where true 90 degree angles are pretty much non-existent.  Once each desktop was assembled I used tung oil to give the wood a nice finish and it really brought out the character in the wood.


An old pepsi crate made for a good shelf and storage unit for some of my most used books, trace paper and smaller office items.


I also picked up a couple Harvest Art Ledges from EQ3 to create a little inspiration space above the desk where I can put books relevant to projects or special art projects from Anique.

In order to mount the desk I went with the easiest and cheapest option available, heavy duty shelf brackets.  The brackets are designed to hold 500lbs, and while I haven't tested them to that extent they have managed to hold the desk and all my computer junk without any problems.  I also bought a cheap ikea cord manager to keep my menagerie of cords somewhat controlled and off the floor.


I also ended up replacing the original yellow and white wool rug I had in the room.  Sadly my computer chair wheels wound up getting caught in the rug more often than not, which drove me crazy very quickly.  I spent some time looking for new options, and finally decided on a low pile carpet tile for three reasons. One, being cost.  I could create a 9x9 "rug" for less than $350.  Two, durability. If a tile gets wrecked or worn out I can replace those tiles easily without replacing the whole floor.  Three, sustainability.  Flor, the brand I chose, will take your old worn out carpet tiles, break them down and recycle them into new products.

I went with Fedora in charcoal because at $10 a square it was affordable and it lent some much needed simplicity and modernity to the room.


 I also found a used T. Vac Chair by Rod Arad on kijiji for a mere $50, so I snapped that up for extra seating in the office.  That corner will eventually house the new shelving unit, so some re-arranging is still to occur, but for now it's my cozy reading corner.  The wooden sling chair was an old school project which I hadn't quite had the heart to get rid of and then Anique adopted it as her own, and now spends a lot of time in the office playing with it so it has found a new purpose and new life.

The antique frame is hopefully soon going to house an inspiration & pin board for projects on the go if I can find just the right metal for the insert.

Overall I'm really very happy with how it all turned out, and it really is nice to have a functioning productive office space where I separate myself from all the hustle and bustle of the remainder of the house.


7.18.2013

A Place to Call My Own

When Marc and I moved into our house three years ago my brother moved in with us, and took over the third bedroom while he was going to school.  And for the first year it meant that the second bedroom became my office.  Then along came Anique, and my office moved itself downstairs to the dining room.  Where it has resided for the last year.

When my brother moved out a few months ago, we decided that it was time for me to have a more permanent office setup.

The original room was not exactly inspiring,  pea green ceiling, cracked plaster and the awful standard uplight fixture that wasn't exactly great for work lighting.  Also, blinds.  Vertical blinds.  I hate vertical blinds.


Since this was really the first room in the house that we could fully empty out while renovating, we also decided this would be the first room that we would attempt to strip the paint off the baseboards, trim and doors.  

Although I'm not in love with the board and batten feature around the room I decided to keep it as removing the boards would have caused a lot of damage to the plaster in the room.  And really, there were only so many battles I was going to fight on this room.  In order to make the best of the board and batten I decided to create wallpaper out of fabric and place it between the board and batten to create panels of colour.   Because the office is quite small doing every panel in fabric would be overwhelming, so we opted to draw the focus to the south wall where my office desk will eventually find it's home.

So off I ran to Fabricland, where I happened upon this wonderful modern floral fabric that was slightly reminiscent of Marimekko.  I loved it instantly.


Using fabric as wallpaper was incredibly easy, a mixture of cornstarch and water provided the "glue" and after a little bit of trial and error I found the easiest way to get my fabric on the wall.

I cut each panel, and then pinned the fabric in place.  Starting from top to bottom and from the middle to the edges I used a stiff paintbrush in order to spread the cornstarch across the fabric, until the fabric was saturated.  We let the fabric dry and then simply trimmed the edges of the fabric with an Exacto blade.  


We also replaced the original light fixture with the 24" Brasa Pendant from Ikea, which gives me great light and has a fantastic sleek modern look.  I wanted the lighting in this room to really stand out and provide a central point of focus.


For some unknown reason the hardwood in the office was stained a much darker colour than the rest of the house.  The wood was also not in great shape with many scratches and large chunks of wood missing.  Replacing the wood with the same style of wood was impossible, and repairing the floors would have taken weeks.  The quick fix was a cute clearance wool rug for $50, which adds some warmth during the winters and lightens the overall effect of the darker wood floor.

We also decided to try minimize the battens and lighten the entire room by painting the battens and the ceiling the same colour.


I've been so happy with the transformation of the moulding and trim since we stripped all the paint off.  There is just so much more life in the room now.  As you can see, we aren't totally finished yet, but it made more sense to us to wait until the summer or fall to take the windows and doors out of the frames so that we can do a proper job.

Also, many many thanks to my mother and father in law, as well as my brother and sister in law who spent a great many hours helping Marc and I strip paint off of this one small room.  Only a few hundred more feet to go!


It may not look like much yet, but my sewing closet is going to be fantastic and decorative in the coming months, updates will be ongoing!


We also have finally had a chance to start working on my office desk. Why didn't I just buy a desk, you might be asking?  Well, because I'm picky, and designy, and kind of a total perfectionist.   I spent months and couldn't find one desk that I loved, so instead I'm making one out of reclaimed barn wood.  Anique and I have been working very hard as of late in order to get the desktop ready.


7.12.2013

The Art of Quilting

I can't believe it is already almost the middle of July, I swear there was snow here yesterday and then I turned around and it was summer.  Incredible!

It has been a bit crazy around here, we welcomed our nephew Loïc into the world in March, which meant I was already behind on making a baby gift.  Because, you know, that's how I do things.

I decided since my sister in law (and all of her sisters) are so fabulous at knitting and crocheting that I would branch out from my usual knitted baby gift wear and try something different.  So one day while cruising pinterest (damn pinterest and all the wonderful things posted on there), I saw this gorgeous baby quilt.

Image credit: http://www.pinknewbornservices.com sadly I couldn't not find the original image source. 

And of course my brain thought "well that looks easy enough", even though a)there was no online tutorial and b) I had never, ever quilted in my life.  In my head it was a bunch of straight lines and some hearts. Easy.

I had some vintage fabric hanging around from my grandma's house that I decided would look great, as well as some grey quilting cotton from a previous school project.  So all I needed was some backing fabric, batt, binding and some more quilting fabric for a bit more variety.  I could do this in a weekend or two, max.

Wrong.

It took me almost 3 months to finish this quilt, which (even though it isn't the prettiest or most refined quilt around) I am quite proud of it.  I had no idea how hard it is to sew a heart, but I caught on eventually.  The last three hearts look really nice.

I probably should have ironed the quilt before photographing it, but that's asking a bit much don't you think?


I created my own binding from the same material as the backing, which was really easy thanks to a tutorial from Cluck Cluck Sew.


I had a lot of fun with this quilt, my next goal will be a hand stitched quilt since I can only imagine that that would be infinitesimally more difficult, complicated and time consuming.  But that's what 8 months of winter weather is for! 

1.02.2013

A Studio and Semester in Review

I'm pretty sure there was supposed to be a blog post on here approximately four or five months ago, and that is about where my life hit the ground running.

The second my studio class began a lot of things had to take a backseat to deadlines and designs, and this blog was the major casualty.  Between a business and a family, school is a major addition, and a major time suck.  The reality was that my blog had to take a serious backseat, and may have to again in the future.

But, for now I'll give you a sneak peek of what I was working on instead of blogging these past five months. In syllabus there is currently no way to get course equivalency for studio projects done in the past, which means that I have a lot of studio left to do.

Frustrating on some levels yes, but on others completely freeing.  This was the first design studio where I wasn't worried and stressed.  In fact it was the first studio that was really a lot of fun, and that is a big statement to make.

There were a total of five projects for the semester, each project building on the other.  Rather than a heavy focus on architectural design, there was a focus on design and art in general.

Project 1 was a logo design, my concept was how to build a logo out of voids, nodes and paths of movement.

The initials were mandatory, as was the black and white.

Project 2 was to create a 2D compilation of five pre-given elements; My concept was about transparencies, what happens when two elements overlap, and simple colour addition.


Project 3 was to build a 3D model based on the plan described in project 2; My concept was to look at extrusions based on a single focal point, forced perspective, void, volume and construction.


Project 4 was to take an image of a "space" and to abstract it in a drawing, the drawing then had to be abstracted again into a sculpture.

Le Corbusier Apartment in Marseilles, photo credit: myself


The fifth and final project was to create a portfolio case that would hold the final product of each project, one through four.  My final ended up being a mockup, as the final case will be constructed of laser cut and laser etched 18g steel.  One major boundary of a non-traditional university set up is that you no longer have easy access to tools like laser cutters and digital printers, instead you have to rely on local resources, which sometimes won't always meet your school deadlines.  C'est la vie.

My concept was to create a portfolio system that would allow my logo to create the overall form; everything held in one compartment; a system that would unfold and allow those viewing it to interact with the portfolio as well as with its contents.


Everything was held in by magnets, and could be moved as desired.  The entire box was also held together  in its closed form by a series of magnets.

Each book showed the design process and was bound with a Japanese Stab Binding.
I should be picking up the final steel pieces this week, and hopefully will be doing my final assembly this weekend.  So excited!

7.16.2012

Working With What You Already Have

I still haven't taken photos of our new front yard, what can I say, I'm pretty fantastic at procrastination.  In all honesty though, with the ridiculous heat wave we've had for the last couple of weeks its been a battle just to keep my new plants alive.  Twice a day I've been dragging our hose to the front yard just to keep them from wilting, sadly we may still lose a couple of plants.  But, with the heatwave easing off and the rain coming my plants will hopefully rebound and we can take some pictures soon!

While our front yard has been coming along nicely everything else has kind of been put to the backburner.  If you have ever heard me talk about our backyard, you have probably heard me utter the words ugly and hate.

Our backyard is a giant deck, landscaping brick everywhere and a garage strategically located right in the middle of the yard.
While big plans are on the horizon for the backyard, these last two years haven't seen much use beyond being utilized as a painting area.

Marc, decided that for our first anniversary he would make that backyard a little bit more palatable.  So with the help of his brother Dan, his sister-in-law Rachel and my mom Carol, Marc put together a pretty good backyard.


I couldn't believe that such a small change could make such a big difference.  This last week I have found myself sitting out in my backyard enjoying it!  All because of a patio set and a few planters.


I'm still looking forward to completely renovating the backyard, but for now, we are working with what we have and it's going pretty well.


7.06.2012

Sometimes you finish a project, and sometimes you run out of brick.

The title pretty much says it all, we ran out of brick yesterday for our walkway, a whole 30 bricks short.  When we decided to widen the walkway I forgot to adjust my oh so careful brick calculations. Thankfully the lady who sold us the brick still had about 300 left so we will pop by sometime this weekend and pick up the last batch.

I did manage to get 8 plants planted yesterday as well, so it is actually starting to take shape as a yard, and it feels really really nice!  Hopefully we can finish this weekend and have pictures ready for Monday!

These last few weeks have been a bit ramshackle with posting, its been a busy time for us, so posts haven't been regular.  But, I'm going to try and get back on track today with the usual "Pictures of the Week".  


Enjoy!